Thursday, July 14, 2016

How to Make Your First Photography Portfolio


Photography Portfolio is one of many ways to get your photography business going. Having a portfolio will also make current and future clients to see whether you are perfect for them. There are 3 steps on how to get your portfolio going and I will explain it so you can make your portfolio in no time.

1. Model right?

Model would be a must have on your portfolio list, not just fashion model, you could also use couples as your model. Be aware though, if you are short on money, you can always try to ask for a trade. First time working with a model? Check this article on how to work with a model.

2. Web

Website portfolio will be your best choice, it's way cheaper than to print a lot of portfolio book. Using Wordpress is the fastest way to get your web portfolio up and running, but, Blogger will give you more control in the future. Also getting a domain would be a good move, a .com will make your site look more professional and also tell your client that you are a serious photographer.

3. Uhh.. Why do cops stand in front of my doorway?

Wonder why? Because you haven't protected yourself legally. Make sure you have the proper contract for all of your models. According to Rachel Brenke (author of thelawtog.com), there are three kinds of contract:
  • Model Call Photography Contract : to govern the core of the modelling transaction, whether they are compensated with money, products or nothing at all.
  • Photography Contract & Model Release : for the portfolio building sessions that are still regular sessions.
  • Print Release : make sure you're giving a print release with any files that are transferred, whether they were purchased for monetarily by the model/client or given as compensation for modelling.
                                                                                                                                                                   

About the Author:
Handoko Rama is a freelance photographer and cinematographer. Living in the island of paradise, Bali. Where everyday feels like Sunday for him. Currently pursuing his dream job with Nat Geo and also reaching maximum level for his World of Warcraft Character.
portfolio: www.mibpictures.com
Read More

Wednesday, July 13, 2016

Travel Photography Tips Before You Start Your Journey


All things packed and ready to go! But wait, do you even know how to get the full potential from your travel photography skill? Some of you may not know that photographing someone out of the blue could be a huge problem, I myself got slapped in the face twice because taking random photos of stranger, and I can assure you, it's not even a panties shot..

Being in a new place could be very exciting, but you need to also remember that other country have different culture, and some area in the country itself have their own set of rules that you must follow.

1. I can say that.


Before you start taking a portrait shot of someone or an event in those areas, always asked if you can take any photos. Asking it with their native languages will also help. Local people love when tourist try to speak their language, they may laugh at you, but you'll get their respect.

2. This is new


You might already see some photos from a famous travel photographer, who have been taking pictures at the same country that you are about to go to, and you want to go to that same exact place and try to get the same exact picture. That's a wrong way of thinking, my friend. I would suggest you to find a new angle, try go up and down, look up or look down, and just move around the area. I believe you will find something way more interesting.

3. Pack extra to go extra


Always bring more than two memory cards and more than one camera battery. You always need to be prepared, you don't want to run out of battery or find out that your memory is full. Also remember to format your memory card every time you back up your files.


About the Author:
Handoko Rama is a freelance photographer and cinematographer. Living in the island of paradise, Bali. Where everyday feels like Sunday for him. Currently pursuing his dream job with Nat Geo and also reaching maximum level for his World of Warcraft Character.
portfolio: www.mibpictures.com
Read More

Tuesday, July 12, 2016

Foody Moody: 5 Equipment That You Need For Food Photography

Not so long ago, my friend who is a food photographer told me secrets on how to be a professional food photographer, and one of that secret is equipment. You might think that food photography is easy, but it's not, in fact, food photography could be very stressful. Since food photographer is also a makeup artist.

Some of you might already know that, food photographer usually carries a bag for his makeup kit. Be it brush or water spray, you name it. They always carry it whenever they are going for a photo session. But, what if you only want to know what you really need when starting your business as a food photographer? I will show you 5 equipment that you need before you go find your first client. So, grab a bag of chips and get comfy.

1. A DSLR..

Don't be a fool of yourself and get a DSLR camera before even doing what you are going to do. For those who are confused about which brand you should buy, always check that the camera that you will be using have all control ready in one touch of a button. My choice will be the Nikon D7100,

Nikon image color is way more richer compare to Canon, and D7100 have all the perks that I need. Why crop sensor over full frame? Everything is explained here.

2. That lens is too expensive
A good lens or two have been always one of the best investment as a photographer. For food photography, I would recommend one prime lens and one zoom lens before you start shooting. The prime lens I choose is Nikon 35mm f/1.8 and the zoom lens is a Tamron 17-50mm f/2.8.

The prime lens will help you whenever you need a wide opening of f/1.8 to get that bokeh going around. I myself, rarely used my prime lens, I usually used my zoom lens. Go on, try it and you'll see the difference.

3. Why is a tripod so expensive?
A strong tripod might cost a fortune, but it will save your camera once or twice. Not just for food photography, but for other kind of photography as well. A good tripod will always be a good investment. Make sure to get one that will support the weight of your camera and tripod arm (what's a tripod arm? We'll discuss it after this.), you don't want your camera to fall on top of your food right?

4. Tripod fused with a monopod
What is that thing? That my friend, is a tripod arm. Why do we need a tripod arm? Well, a tripod arm is used whenever you need to shoot your object from the top. Some photographer like to use stair and ladder, but for me, a tripod arm is a much better choice.

5. T.V Remote
Sorry, not a T.V remote, but camera remote shutter release, or CRSR for short, you won't find that word anywhere since I just invented it. So, a CRSR is a remote for your DSLR camera, so when you press the remote, the shutter will release and shoot your subject or object. CRSR usually used by landscape photographer to avoid blur. With CRSR, we can lower the shutter speed to an amount which when you are not using CRSR will cause blur.


About the Author:
Handoko Rama is a freelance photographer and cinematographer. Living in the island of paradise, Bali. Where everyday feels like Sunday for him. Currently pursuing his dream job with Nat Geo and also reaching maximum level for his World of Warcraft Character.
portfolio: www.mibpictures.com
Read More

Monday, July 11, 2016

Into The Wild: 3 Things That You Must Not Do as a Wildlife Photographer

Okay, I know that the photo I used is fake, but I must admit to you guys, it's still pretty hilarious. Being a wildlife photographer isn't always fun and games. You need to have super patient when hunting with your camera.

I will give you 3 steps on what you should not do when doing wildlife photography, after this, I will assure you that no bear will chase you on your next wildlife trip.

1. I shouldn't be here..
You decided to take some photos at a park near you and while you are on your trail to see beautiful wildlife, you saw a tiger walk past you. Confused on, how on earth did a tiger got into a park, you followed that tiger, you jumped the trail fence and your head hit the ground, you passed out. After several hours, you woke up and it's already dark. You turn on your flash light and wander around in the dark, hoping to find your way out soon. While you are scared of what might happened to you, a dark, tall figured appeared, he wore a black tuxedo, have long arms and no face. The figures got closer and closer, until finally his hand reaches you and begin tearing you apart.

Moral of the story: Don't leave the trail ever, the trail is there to ensure your safety. Do not even dare going out without any responsible person coming with you. Getting lost is the last thing you want to in your wildlife journey.

2. Oppss sorry gorilla, did my lens just hit your head?
Getting too close to your subject might get you a beautiful shot, but it's also dangerous too. Like what happened to our friend here, Mr. Christopher Courteau, he got clobbered by a gorilla. But despite all that, he still got the perfect shot that he wants.

Risk taker is a must have asset that you need as a photographer. But, do not equate risk taker and getting yourself killed by being too close to a pack of predators. Always carry a telephoto lens with you.

3. Ohh look a lion.. oh and another one.. and another one..
We all know that shooting exotic animal is awesome and would be a very good asset to our portfolio. But what about a non exotic kind of one? Let me tell you something, all animals are exotic. Even when you think they are not, they still are.

Always take a look at your surroundings and you might find a smaller creature that might be way more interesting than the one you are about to shoot.


About the Author:
Handoko Rama is a freelance photographer and cinematographer. Living in the island of paradise, Bali. Where everyday feels like Sunday for him. Currently pursuing his dream job with Nat Geo and also reaching maximum level for his World of Warcraft Character.
portfolio: www.mibpictures.com
Read More

Sunday, July 10, 2016

Will You Use Your Photography to Save Other?

When you first step into the path of photography, what kept you going? I believe, one of them is dream. I myself, believe in the power of dream. Dream is the one thing that keeps me going, even though it was hard to get a stable career in this industry, but somehow I managed.

But, do you know that a lot of children have so little hope of achieving their dream? Back in 2015, I worked with an NGO who's helping other NGO in achieving their goal. My job is to design and sometime wonder around google images and downloaded a whole bunch of photos about poverty, hunger, no access to clean water and other poor country problem. By only doing this, I am moved. All the photos that I have seen is very tragic and I feel so bad that I can't do anything to help them.


On May 2016, I quit my job to continue my dream in making movies and to work as a freelance for a travel company. On my free time, I circle around Bali to find other NGO's who's helping other. I got in contact with one NGO that helped people who are drug abused. They are very strict of their member identity, some of them are still ashamed of their actions. One woman took me around the facility where I see a very horrific view of a young man who's shaking so hard, 4 people need to restrain him as he also tried to escape. He shouted "I need it!" for several times, until he got a little bit tired and they can finally take him to a bathroom where he got showered with cold water for a lot and lots of time.

After that experienced, I have decided that I will use my talent to help others in any way I can. Whenever there's any NGO that texted me and asked me to be their photographer, I'll be there and work for free.


Right now, I'm still saving some of my money, hoping that someday I can travel across the country to help those who's in need, I want to join as a volunteer and also photograph their struggle so everyone can see how hard it is, to live when you have nothing. As what Insane Clown Posse said in one of their music ".. some kids are born with a silver spoon, other born with a needle in the world of doom.".

Are you ready to join the cause of saving humanity from extinction?


About the Author:
Handoko Rama is a freelance photographer and cinematographer. Living in the island of paradise, Bali. Where everyday feels like Sunday for him. Currently pursuing his dream job with Nat Geo and also reaching maximum level for his World of Warcraft Character.
portfolio: www.mibpictures.com
Read More

Saturday, July 9, 2016

Into the Wild: What You Should Do In Wildlife Photography


Animal or wildlife photography is my favorite, I love the feeling when I am being surrounded by nature and its beautiful creatures. But if you are a new wildlife hunter and not sure what you are supposed to do, then you come to the right place my friend.

I will give you 3 steps that I used when I first got into wildlife photography, that you can apply right away, so stay with me for a few moments and I guarantee you, after reading this post you will be more confident in your first hunt.

1. Need for Speed: Animal Ground
Shutter speed is your friend. Animal tend to move fast and there's only a few animals who would stay in the same place for a long time, even when you're in the zoo, they won't stay still long enough. So with this problem, increasing the shutter speed is your best idea.

You also need to measure your target speed, if it's only walking around, probably 160 to 200 would be enough. But, if it's running like a horse or a cheetah, than you need to go above. This rule also applies to bird, bird never go slow, so always be ready. Remember, your shutter speed need to be above your focal length, so check your lens and set it accordingly.

2. Know before you go
Every hunter knows their prey before they start hunting. That's also apply to wildlife photographer, you need to know what kind of animal you are going to shoot first. The more time you spent with your subject, the more impact you will get from your pictures.

I would recommend you to go to your local zoo and see the full bio of the animal and do another research on the internet afterward, with all the info you gather, make sure you know what your subject afraid of or what threaten them the most. We need to respect our subject and we need to be careful not to intimidate their home or make them feel threatened, be invisible.

3. Patient you must have
Always be patient young Padawan.. use the force. Wildlife photography could be very frustrating if you are not patient in handling your subject. All professional wildlife photographers could stay hours in the same position just to get one perfect shot, and that's what made them a professional.

Take your time to know your surroundings, feel the breeze and enjoy what nature provide for you. I can guarantee you that you will fall in love with nature.


About the Author:
Handoko Rama is a freelance photographer and cinematographer. Living in the island of paradise, Bali. Where everyday feels like Sunday for him. Currently pursuing his dream job with Nat Geo and also reaching maximum level for his World of Warcraft Character.
portfolio: www.mibpictures.com
Read More

Friday, July 8, 2016

Getting Inside Model Photography: How to Work With a Model


Here you are, ready to start your journey as a model photographer. But, one thing hit your mind. What should you do first? Well of course, doing a model photo shoot will be your first choice. Now another thing hitting your mind, how to work with a model?

From my experience, there's a lot of ways to work with your model. There are certain aspect that you and your model needs to reach the same goal and also there are some aspect that you need to find before doing your session. I will show you 5 steps that I really recommend doing and if you understand this 5 steps, you will be out there shooting in no time.

1. Do you know anyone that....?
Of course before you begin with everything, you need the model first. How do you find them? There are three options:

1. Web
Finding your model from the internet is easier than you thought. There's a lot of model website that provide you with all the date from the model, such as high, body type, weight and so on. Getting model on the web will also cost you and every model cost differently, so make sure to find the right candidate that is not going out of your budget.

2. Are you a model?
Ask around your neighborhood if they know anyone who are a model or starting in the industry, this could be quite tricky since you are walking around asking people if they know someone. But if you are lucky, you might find the perfect model for you.

3. Hey Bro, want to try?
Friends or relatives are the favorite option from all three, for a newbie who just got into the industry, asking their friends or relatives is the easiest thing to do. Since you already know them, you can skip the chemistry part which is sometime could be a problem if you just met the model and you don't feel the click.

2. Uhh.. Can we just trade?
This is very popular among photographer(s) who just got in the industry. Like me, I started with nothing, only camera and lens, so to get model, I trade my time and photography skill and instead of money, they get all the photos that I edited for free.

Using this method is good and very beneficial for both model and photographer. Make sure after you contact your model, you need to ask if it's okay to do that. Some model who already in the industry long enough, might not want to do it, but for model who just started, they probably do it, as they also need some portfolio. Actually in some cases, the model contact you first for a photo session with a trade system.

3. Sign here please..

Model release is very important. Model release is an agreement form that photographer made whenever you do a photo shoot. This release will help you later when you want to use those pictures for advertising or to upload online.

It would be very wise to do this step as sometime the model can sue you because you used that pictures(s) without their permission and whatsoever. The model also has the right to take down that photos from your website and sue you if you are making any profit from it.

4. Beach sounds perfect.. bikinis.. yes use bikinis..
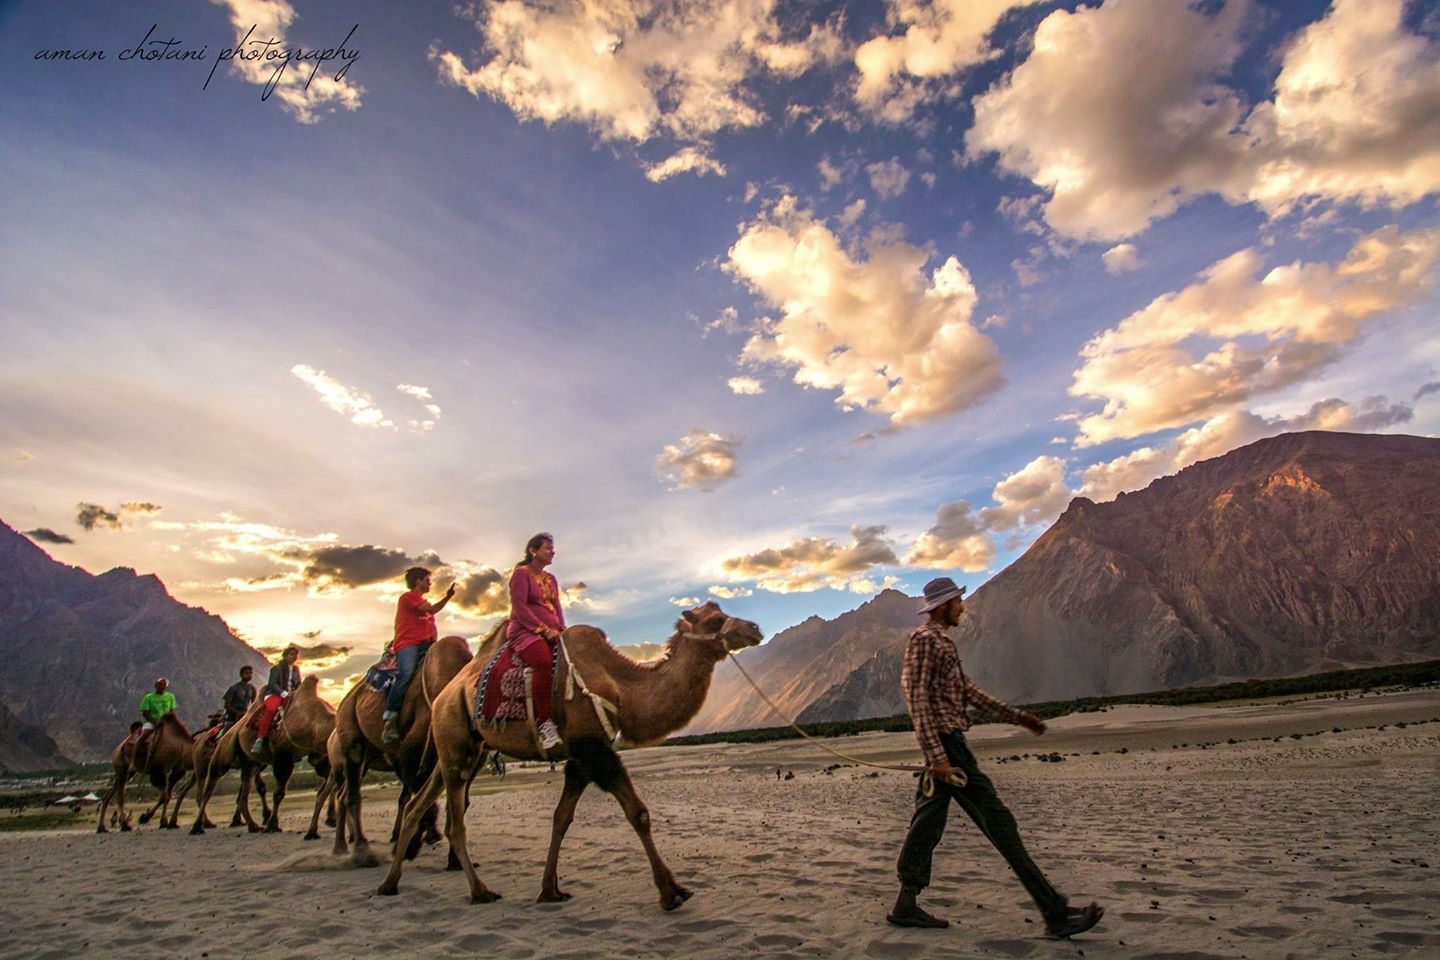
Renting a studio might be cool, but it will cost you quite a fortune, picking an outdoor location might be your best option. Picking the perfect location for you could be easy or it could be hard. Sometime, photographer already knows where they want to shoot before even finding the model.

But if you don't have any idea what kind of model photo shoot you want, now that could be a little bit of a trouble. I suggest you go around your neighborhood and you might find a cool place to shoot. Remember, with the right angle, even an empty space could be a great location.

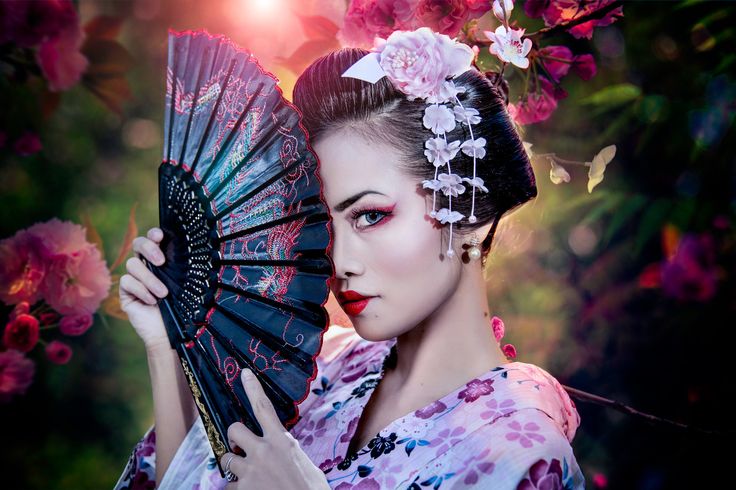
Don't forget that you also need to pick the right outfit for your model, the cheapest way to do this is ask your model to prepare the outfit by them self. But, even in doing this, you need to be with them while they choose, so you can decide whether or not you need to buy the outfit for them.

5. Can I press the shutter now?
You got everything you need and you are ready to begin shooting. From my experience working with a model, if they have a lot of experience, they will change poses and expression every time they hear the camera click. You let them go with the flow because they know what they are doing.

But, if your model is new to this, you might need to re-pose them for several times. Telling them to smile or stop smiling and so on. The easiest way to do this is using the triangle method. Triangle method is when the model poses and create one or more triangle shape from their poses.

Remember, practice make perfect. The more you practice, the better you get. Model photography could become quite a challenge so I guess you won't be bored quite easily.


About the Author:
Handoko Rama is a freelance photographer and cinematographer. Living in the island of paradise, Bali. Where everyday feels like Sunday for him. Currently pursuing his dream job with Nat Geo and also reaching maximum level for his World of Warcraft Character.
portfolio: www.mibpictures.com
Read More